记录在Vue中如何使用Vuex。
一. 什么是Vuex — 这里采用官方说明
- Vuex 是一个专为 Vue.js 应用程序开发的状态管理模式。
它采用集中式存储管理应用的所有组件的状态,并以相应的规则保证状态以一种可预测的方式发生变化。
Vuex 也集成到 Vue 的官方调试工具 devtools extension,提供了诸如零配置的 time-travel 调试、状态快照导入导出等高级调试功能。
总结: 多页面共享一个数据,不用每个页面重复请求一样的数据,单向数据流。
二. 如何安装?
先创建Vue的项目
1
vue init webpack my-vue-demo
安装Vuex插件
1
npm install vuex --save
创建存储文件及目录
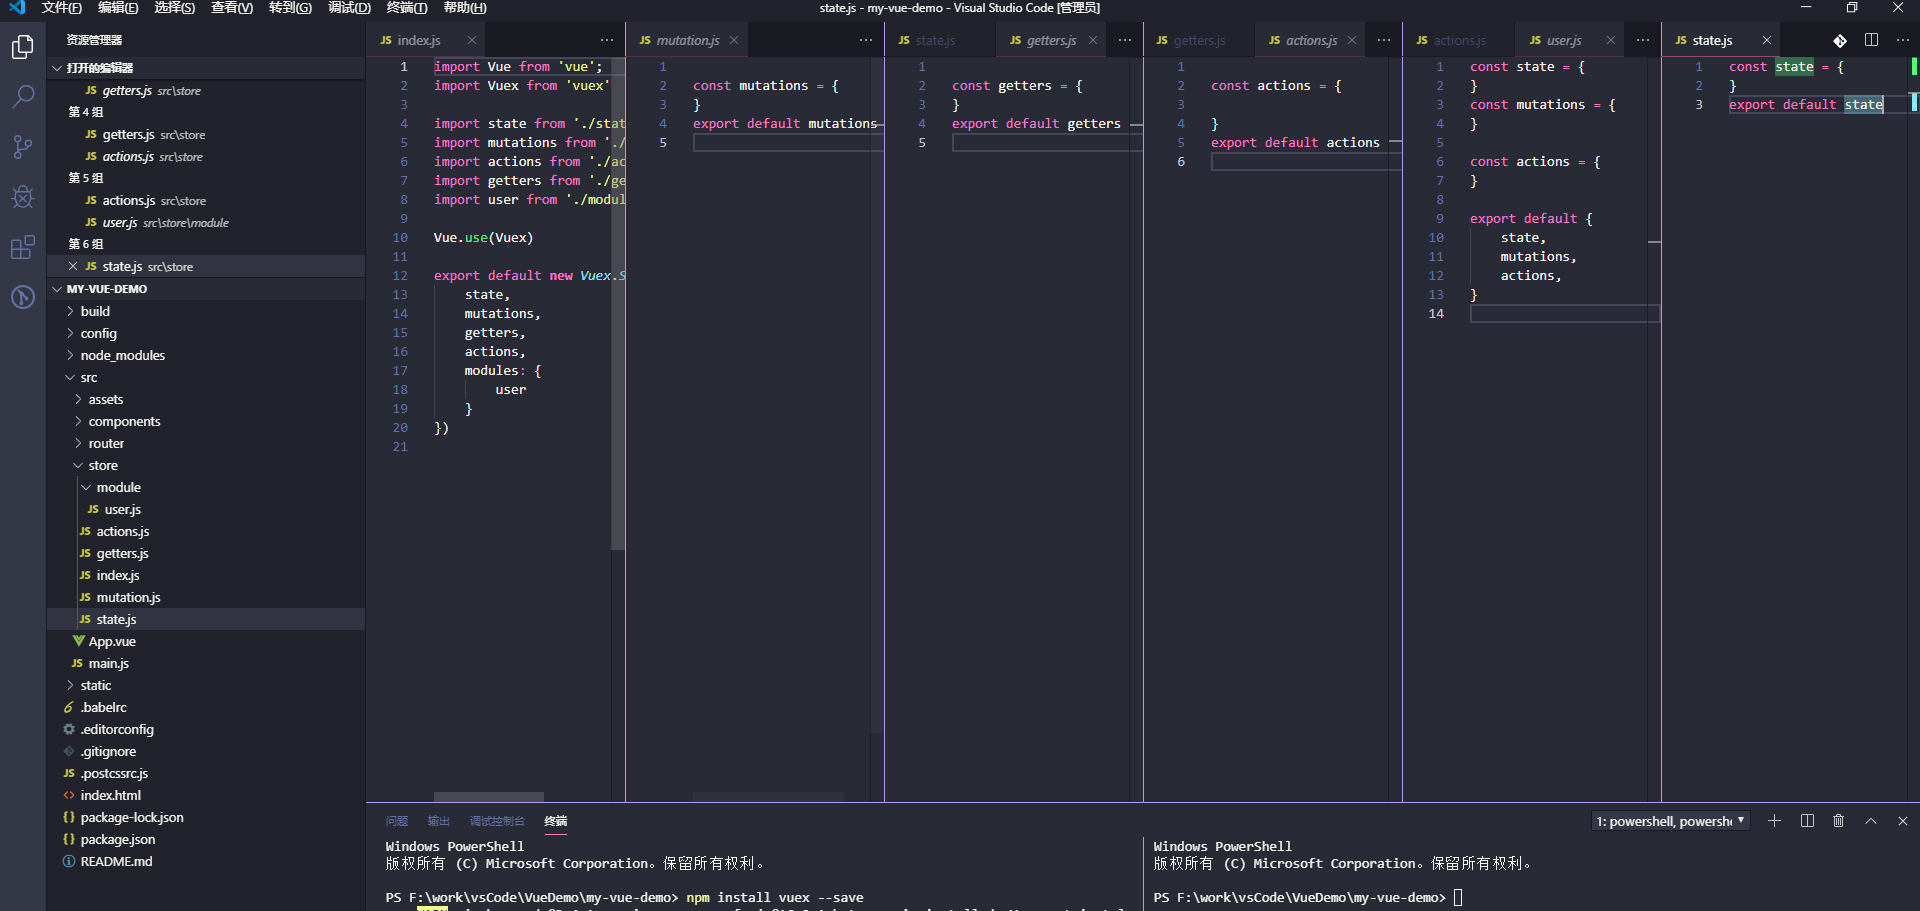
各个文件的作用
state
- state是什么?
- 官方的解释是 state是唯一的数据源,每个Store只会存在一个 ;
- 用声明存储数据的地方。
- state如何使用?
和对象的写法一样 左边是key 右边是value;1
2
3
4
5
6const state = {
// 什么一个值 一会我们会使用它
// 这里的值不能与modlue中文件名一致
userName:'',
}
export default state
- state是什么?
mutation
- mutation是什么?
- 官方的解释:更改 Vuex 的 store 中的状态的唯一方法是提交 mutation。
Vuex 中的 mutation 非常类似于事件:每个 mutation 都有一个字符串的 事件类型 (type) 和 一个 回调函数 (handler)。
这个回调函数就是我们实际进行状态更改的地方,并且它会接受 state 作为第一个参数 - 用户修改state中声明的属性的值,且只能通过mutation事件才可以修改state中的值
- 官方的解释:更改 Vuex 的 store 中的状态的唯一方法是提交 mutation。
mutation如何声明一个方法并修改state中的值
1
2
3
4
5
6
7const mutations = {
// 修改用户的名字
SET_USER({ state }, params) {
state.userName = params;
}
}
export default mutations如何使用(这里只简单的说下用法,进阶用法放在后面)
1
2
3
4
5
6
7
8
9
10
11
12
13
14
15
16
17
18
19
20
21
22
23
24
25
26
27
28
29
30
31
32
33在.vue文件中
<template>
<div class="hello">
<h1>{{ msg }}</h1>
<h2>Essential Links</h2>
<h2 >我的名字{{userName}}</h2>
<button @click="handleSetUserName"> 修改姓名</button>
</div>
</template>
<script>
export default {
name: "HelloWorld",
data() {
return {
msg: "Welcome to Your Vue.js App",
};
},
methods:{
// *修改state中userName的值
handleSetUserName(){
this.$store.commit('SET_USER','小红');
}
},
// * 通过计算属性获取state中的值 但是一般我们是不会直接通过state获取值的 使用getter更好
computed:{
userName(){
return this.$store.state.userName;
},
}
};
</script>
- mutation是什么?
getter
什么是getter?
官方解释:有时候我们需要从 store 中的 state 中派生出一些状态,例如对列表进行过滤并计数:
如果有多个组件需要用到此属性,我们要么复制这个函数,或者抽取到一个共享函数然后在多处导入它——无论哪种方式都不是很理想。Vuex 允许我们在 store 中定义“getter”(可以认为是 store 的计算属性)。就像计算属性一样,getter 的返回值会根据它的依赖被缓存起来,且只有当它的依赖值发生了改变才会被重新计算。
- 通过getter你可以将state的数据过滤一次,返回你想要的数据格式或数据,并且它和计算属性一样,getter出去的属性,若与state中的属性一致,他会自动更新;
如何使用,
声明
1
2
3
4const getters = {
userName: state => state.userName
}
export default getters使用
1
2
3
4
5
6// 在.vue文件中
computed:{
userName(){
return this.$store.getters.userName;
},
}1
2
3
4
5
6
7
8
9
10
11
12
13
14
15
16
17
18
19
20
21
22
23
24
25
26
27
28
29
30
31
32
33
34
35
36
37
38
39
40
41
42
43
44
45
46
47
48
49
50
51
52
53
54
55
56
57
58我们修改下刚刚的案列 通过getter返回出去
<template>
<div class="hello">
<h2 >我的名字{{userName}}</h2>
<button @click="handleSetUserName"> 修改姓名</button>
</div>
</template>
<script>
export default {
methods:{
handleSetUserName(){
this.$store.commit('SET_USER','小红');
}
},
computed:{
userName(){
return this.$store.getters.userName;
},
}
};
</script>
```
4. action
1. 什么是action?
1. 官方解释:Action 提交的是 mutation,而不是直接变更状态。
Action 可以包含任意异步操作。
2. Action可以包含异步操作,在action中只能通过commit 修改state中的值
2. 如何使用
1. 如何声明
```javascript
import axios from 'axios';
const actions = {
第一种
/*
* state: 数据声明的state
*commit 修改state 中属性值的方法 action只能通过mutation修改state中的属性
* params 是代用action方法传递过来的额外参数 可以不传
*/
getUserInfo({ state, commit }, params) {
return axios.get('http://jsonplaceholder.typicode.com/users')
},
第二种
// 或者你可以这样()
getUserInfo({ state, commit }, params) {
axios.get('http://jsonplaceholder.typicode.com/users')
.then(res => {
console.log(res);
commit('SET_USER_LIST',res.data)// 这个时候我们就有了userList 数组了
// 等同于
// store.commit('SET_USER_LIST',res.data)
})
.catch(error => {
console.log(error);
});
},
}
export default actions如何使用
1
2
3
4
5
6
7
8
9
10
11
12
13
14
15第一种 直接获取
mounted(){
let a = this.$store.dispatch('getUserInfo')
a.then(res => {
console.log(res);
})
.catch(error => {
console.log(error);
});
console.log(a);
},
第二种 直接存储在vuex state中
mounted(){
this.$store.dispatch('getUserInfo')
},
Module(模块)
- 什么是模块?
- 官方解释:由于使用单一状态树,应用的所有状态会集中到一个比较大的对象。当应用变得非常复杂时,store 对象就有可能变得相当臃肿。
为了解决以上问题,Vuex 允许我们将 store 分割成模块(module)。每个模块拥有自己的 state、mutation、action、getter、甚至是嵌套子模块——从上至下进行同样方式的分割- 当做一个大型的项目时,或项目更加复杂时 vuex回变得非常的庞大臃肿,不利于数据的维护,我们可以将它切割成多个模块(文件),每个模块又包含state getters actions mutation
- 官方解释:由于使用单一状态树,应用的所有状态会集中到一个比较大的对象。当应用变得非常复杂时,store 对象就有可能变得相当臃肿。
如何使用
如何声明
1
2
3
4
5
6
7
8
9
10
11
12
13
14
15
16
17
18
19
20
21
22
23
24
25
26
27
28
29
30
31
32
33
34
35
36
37
38
39
40我们将刚刚写的demo都放在模块中
// store/module/user.js
import axios from 'axios';
const state = {
userName: '小明',
userList:[],
}
const mutations = {
// 修改用户的名字
SET_USER:( state , params)=> { state.userName = params; },
SET_USER_LIST:( state , params)=> { state.userList = params; }
}
const actions = {
/*
* state: 数据声明的state
*commit 修改state 中属性值的方法 action只能通过mutation修改state中的属性
* params 是代用action方法传递过来的额外参数 可以不传
*/
getUserInfo({ state, commit }, params) {
axios.get('http://jsonplaceholder.typicode.com/users')
.then(res => {
commit('SET_USER_LIST',res.data)// 这个时候我们就有了userList 数组了
})
.catch(error => { console.log(error); });
},
}
const getters = { userName: state => state.userName }
export default {
namespaced:true,// 是否开启命名空间 默认是不开启的 开启命名空间调用时在原本的方法前面添加模块
state,
mutations,
actions,
getters
}
//注别忘记在store中引用它
// store/index.js
import user from './module/user.js'如何使用
在原本的方法前面添加模块名 也就是user1
2
3
4
5
6
7
8
9
10
11
12
13
14
15
16
17
18
19
20
21
22
23
24
25
26
27
28
29
30
31<template>
<div class="hello">
<h1>{{ msg }}</h1>
<h2 >我的名字{{userName}}</h2>
<button @click="handleSetUserName"> 修改姓名</button>
</div>
</template>
<script>
export default {
name: "HelloWorld",
mounted(){
this.$store.dispatch('user/getUserInfo')
},
data() {
return {
msg: "Welcome to Your Vue.js App",
};
},
methods:{
handleSetUserName(){
this.$store.commit('user/SET_USER','小红');
}
},
computed:{
userName(){
return this.$store.getters['user/userName'];
},
}
};
</script>
- 什么是模块?
进阶使用map辅助函数
第一种 (推荐,自己习惯这种对象的方式)
1
2
3
4
5
6
7
8
9
10
11
12
13
14
15
16
17
18
19
20
21
22
23
24
25
26
27
28
29
30
31
32
33
34
35
36
37
38// 推荐写法
<script>
// 在这里声明
import { mapState, mapGetters, mapActions, mapMutations } from 'vuex'
export default {
name: "HelloWorld",
mounted(){
this.getUserInfo();
},
data() {
return {
msg: "Welcome to Your Vue.js App",
};
},
methods:{
handleSetUserName(){
this.SET_USER('小红');
},
...mapMutations({
// 添加了user 就是获取模块中的
SET_USER:'user/SET_USER'
// 获取公共的
//SET_USER:'SET_USER'
}),
...mapActions({
getUserInfo:'user/getUserInfo'
})
},
computed:{
...mapState({
userName: state => state.user.userName,
}),
...mapGetters({
userList: 'user/userList'
})
}
};
</script>第二种
1
2
3
4
5
6
7
8
9
10
11
12
13
14
15
16
17
18
19
20
21
22
23
24
25
26
27
28
29
30
31
32
33
34<template>
<div class="hello">
<h1>{{ msg }}</h1>
<h2 >我的名字{{userName}}</h2>
<button @click="handleSetUserName"> 修改姓名</button>
{{userList}}
</div>
</template>
<script>
import { mapState, mapGetters, mapActions, mapMutations } from 'vuex'
export default {
name: "HelloWorld",
mounted(){
this.getUserInfo();
},
data() {
return {
msg: "Welcome to Your Vue.js App",
};
},
methods:{
handleSetUserName(){
this.SET_USER('小红');
},
...mapMutations('user',['SET_USER']),
...mapActions('user',['getUserInfo'])
},
computed:{
...mapState('user',['userName']),
...mapGetters('user',['userList'])
}
};
</script>不止有第三种还有第四种第五种 这里就不一一列举了 掌握常用的就已经足够了